Why you should learn how to clean and lube your motorbike chain
Knowing how to clean and lube your motorbike chain is kind of a big deal. It takes all the engine’s effort and transfers it to the wheel. If it’s dry, gunky, or sagging like a bad belt, you’re not just losing performance – you’re flirting with disaster.
Keeping your chain clean and lubed doesn’t just make it last longer, it makes your ride smoother, your throttle sharper, and your wallet a bit happier in the long run.
Read on to find out how to show that chain some love.
What you’ll need before you start
After you clean and lube your motorbike chain, you’ll definitely feel a sense of satisfaction. Whilst the job is a little messy, it’s totally doable on your driveway with very little tools.
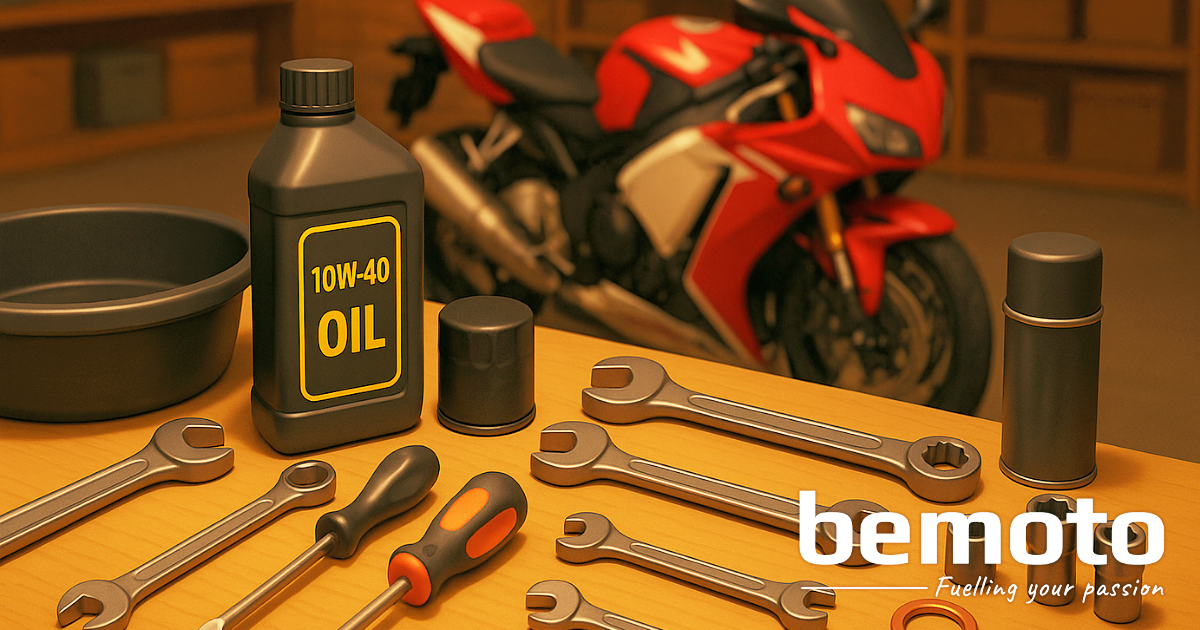
You will need:
- Motorbike chain cleaner (or kerosene if you’re old school)
- Motorbike chain lube (make sure it’s bike-specific)
- Chain brush (one with jaws that reach around the chain is best but you can use a stiff nylon brush)
- Microfibre cloth or rags
- A paddock stand (optional, but makes life easier)
- Gloves (unless you like black fingernails)
Our partner, R&G, has top-shelf cleaning, lubrication and workshop products if you want to make this a regular thing. They’ve been tried and tested here at BeMoto HQ and can confirm they’re well worth it. Click the link to get 10% discount on R&G goodies and keep the garage stocked.
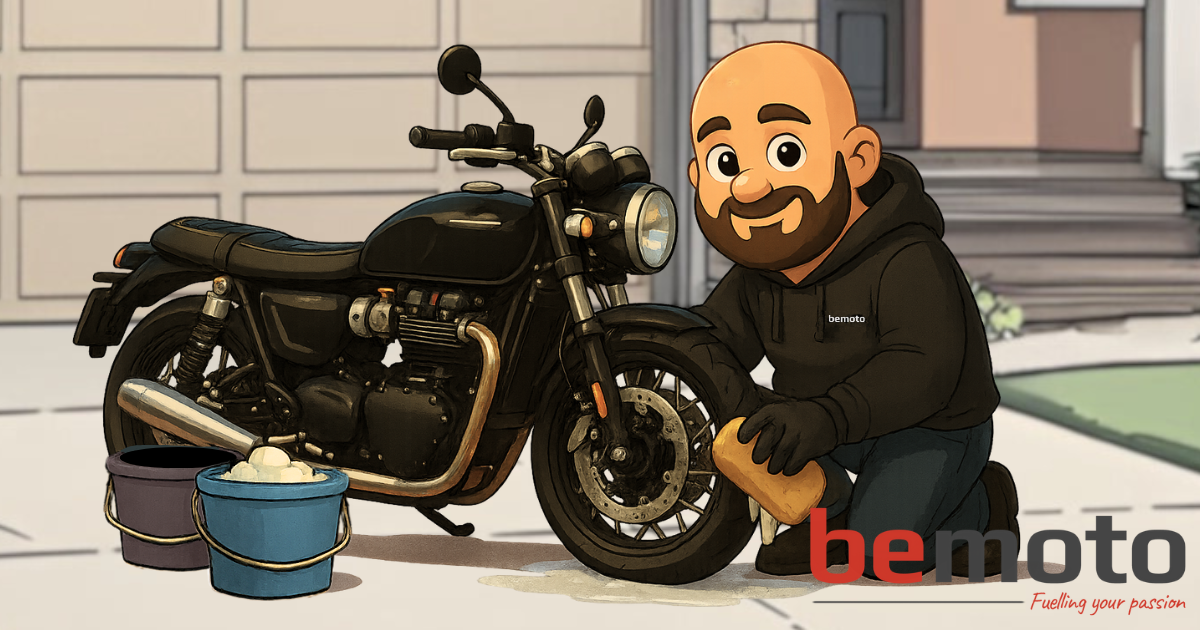
Step 1 - Get your bike in position
Pop your bike on a paddock stand if you’ve got one. A paddock stand or centre stand helps with stability and makes the job easier, especially for getting to the chain and rear wheel. We’ve lubed the chains on plenty of bikes right off the side stand, rolling it forward incrementally to get the whole chain, but propping it upright and having some movement is a huge winner.
If you don’t have a paddock stand, but fancy nabbing one, check out R&G‘s fantastic range for all types of bikes and swingarms.
By the way, make sure the engine’s off, the bike’s in neutral, and you’re working somewhere well-ventilated. Bonus points if it’s not on your mum’s garden patio.
Step 2 - Spray it down
Spray the chain with your cleaner and let it soak for a few minutes to let it work it’s way into all the little nooks and crannies. Apply it gently, no need to drown the poor thing or waste any cleaner unnecessarily. This will get all that muck and road grime loosened up.
Aim for full coverage: front sprocket to rear, inside and out. Front sprockets can be a bit tricky to get to on most bikes. If you want to be really thorough, you can pop the fairing or cover off prior to spraying to get better access.
Spanner’s tip: This is where some forethought will save you a lot of aggro. Lay the cardboard (or an old towel/rag) underneath the chain to catch the grime. Your garage floor or driveway will thank you for that later.
Step 3 - Scrub-a-dub-dub
Use your chain brush (or a good quality nylon brush) and scrub all sides of the chain. Rotate the rear wheel slowly as you go if it’s on a stand or roll the bike forward or backwards incrementally. Get into every nook: plates, rollers, the lot.
Don’t be shy when doing this. The gunk is stubborn and, if it’s been a while since you’ve cleaned it, caked on there. Don’t put too much pressure on your chain but make sure you scrub it like you mean it.
Step 4 - Wipe it clean
Once scrubbed, wipe the chain down with a clean rag to remove excess grime and cleaner. You want it dry to the touch, but not bone dry. This way, you’re prepping the surface of the chain to absorb the new lube quickly and efficiently.
Once you’ve given it a quick dry, let it sit a minute or two to make sure all the solvent from the cleaner has evaporated.
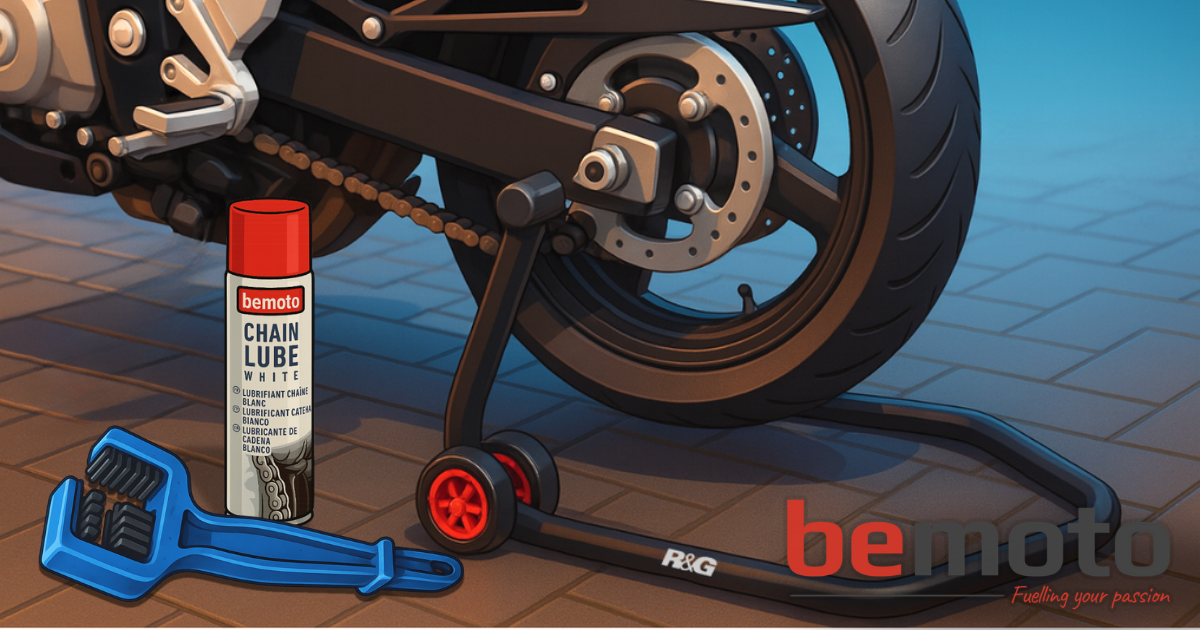
Step 5 - Lube it up
Here’s where the magic happens. To lube your motorbike chain correctly, spray lube onto the inside of the chain while slowly rotating the rear wheel. A light, even coat is better than drowning it. Focus on the inside because that’s where it contacts the sprockets and will help to lubricate all the little seals in the chain.
Spray chain lube onto the inside of the chain while slowly rotating the rear wheel. A light, even coat is better than drowning it.
Spanner’s tip: If you have any leftover cardboard, you can use this as a barrier between the spray and your rear wheel by wedging it gently behind the chain. Whilst it’s not the end of the world if you do get any chain lube on your wheel, it should prevent any getting on your tyres. Lubed tyres is not recommended!
Step 6 - Let it set
Give the lube 10-15 minutes to settle before riding. This helps it stick properly and stops it flinging onto your wheels or number plate. Ask us how we know…
Chain cleaned. Lube applied. Job well done!
Cleaning and lubing your motorbike chain is one of those little things that pays off big over time. Your drive train will last longer, your bike will ride better, and you’ll look like someone who knows what they’re doing; even if you googled it all this morning.
But what about the rest of the bike? If you need a comprehensive guide on cleaning your bike, check out our guide on how to clean your motorbike properly and add it to your maintenance routine!
Enjoyed this post?
Dive into more insights, stories, and tips across The Pit Stop, there’s plenty more waiting for you!
Don’t forget to subscribe to the mailing list for fresh content, insider perks, and updates delivered straight to your inbox! See the sign up form below.