Competitions
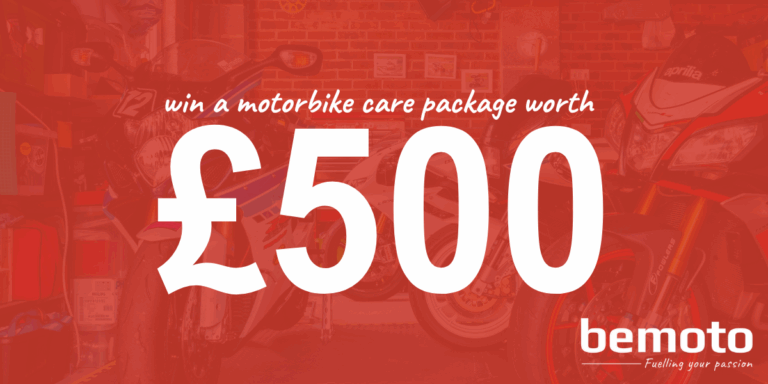
Win a £500 motorbike care package!
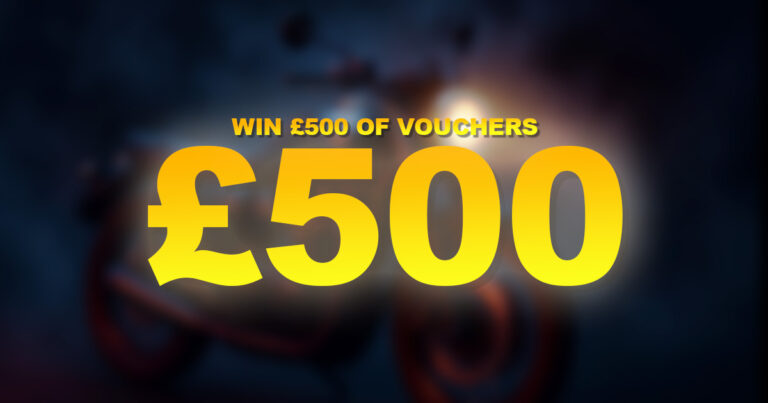
Enter our July competition to win a £500 motorcycle care package, including a £250 R&G voucher, garage tools, and premium cleaning products – no purchase necessary!
Enter our July competition to win a £500 motorcycle care package, including a £250 R&G voucher, garage tools, and premium cleaning products – no purchase necessary!
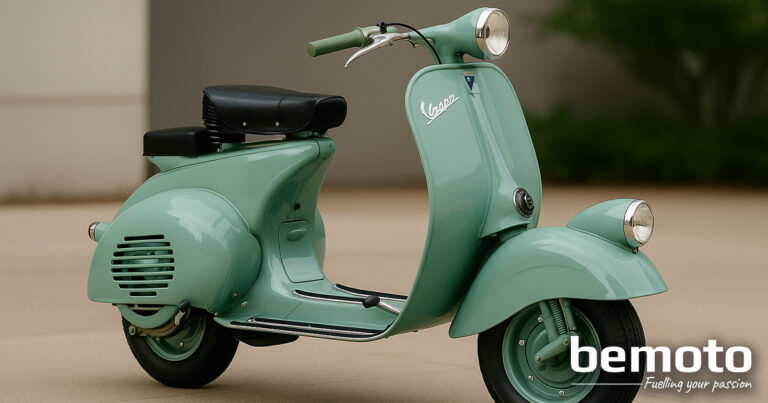
Some motorcycles do more than just go fast or look cool, they redefine an era. Whether it was through groundbreaking engineering, world-first features, or simply capturing the spirit of a
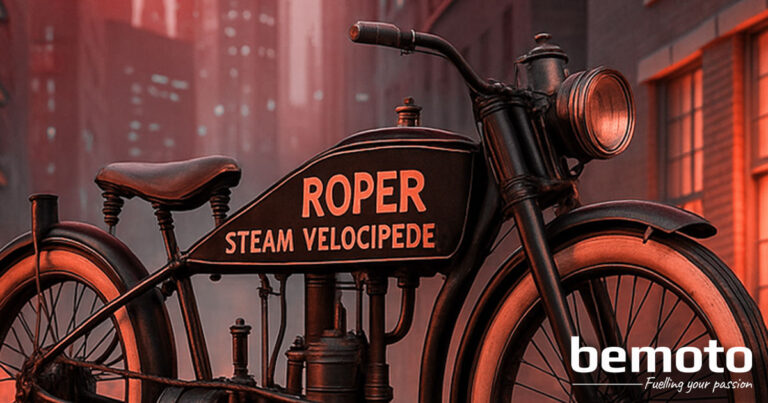
From steam-powered oddities to sleek modern superbikes, motorcycles have come a long way in just over a century. While today’s bikes are technological marvels, it all began with little more
Gear up for a thrilling year of two-wheel action with our Motorbike Race Calendar 2025. From MotoGP to the Isle of Man TT, we’ve compiled the ultimate list of the
We’re celebrating the launch of our brand-new website with an epic prize draw! Whether you’re upgrading your riding gear, kitting out your garage, or eyeing up the latest bike tech,
Planning a dirt bike holiday in Europe? Make sure you’re fully protected with Dirt Bike Repatriation Insurance. From enduro tracks to motocross competitions, this cover ensures you’re not left with
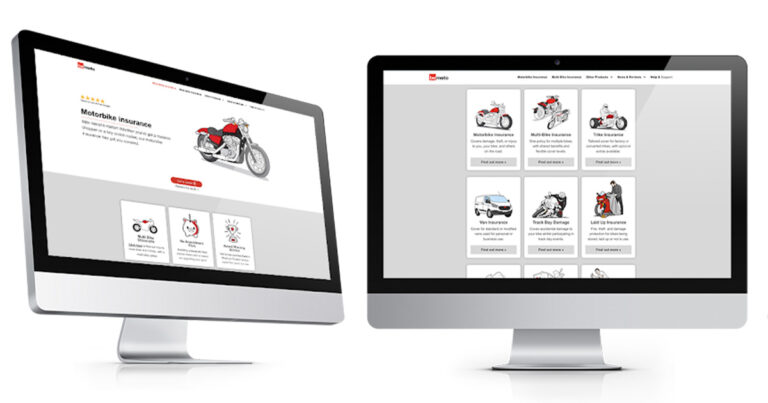
Our new site is faster, sleeker, and built around what bikers really need. Plus, we’re launching The Pit Stop, your new go-to blog for riding tips, gear guides, road trip
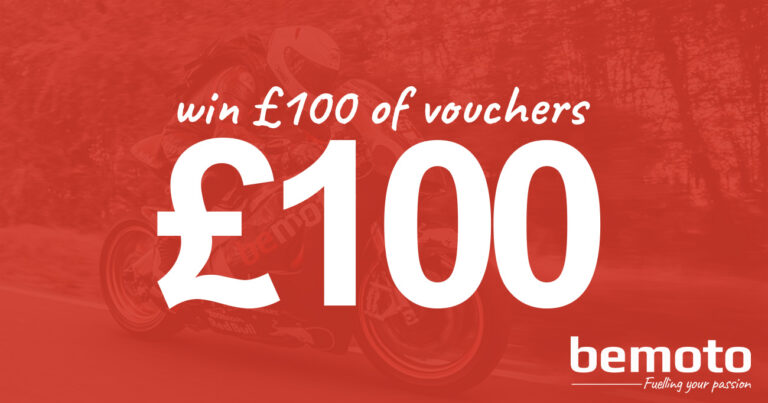
Don’t miss our prize draw to win £100 of vouchers to splash out on some snazzy new bike gear! We’ve got three chances to be a winner up for grabs
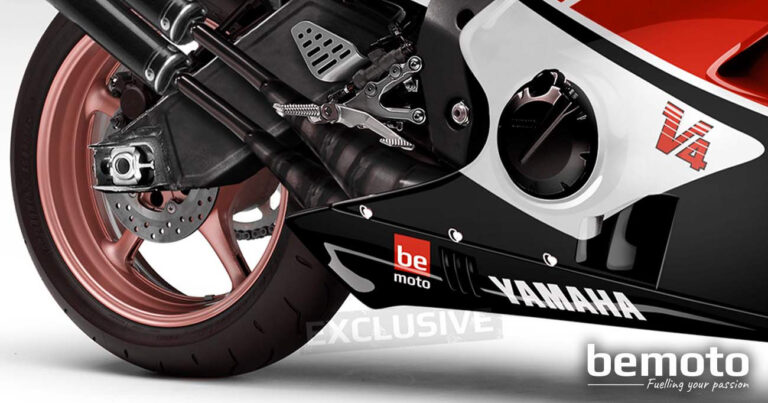
Step back to the golden age of two-strokes with the Yamaha RD500 2016 Concept – a modern tribute to one of the most iconic strokers of all time. With cutting-edge


