
Why you should change your motorbike air filter
Learning to change your motorbike air filter is essential for any at-home mechanic. An air filter might be small, but it’s mighty important; it’s the thing standing between your engine and all the crud the world throws at it. A clean filter means smoother airflow, better fuel economy, more power, and a longer engine life.
Neglect it, and you’re basically asking your bike to inhale through a blocked straw. Not fun. So here’s how to swap that dirty sponge for a fresh lung, without losing your mind (or any bolts… hopefully).
What you’ll need before you change your motorbike air filter
The good news is that changing your motorbike air filter is a pretty low-mess job. It pays to be prepared by avoiding setting time aside then realising you’re missing some critical bits. Here’s what to gather:
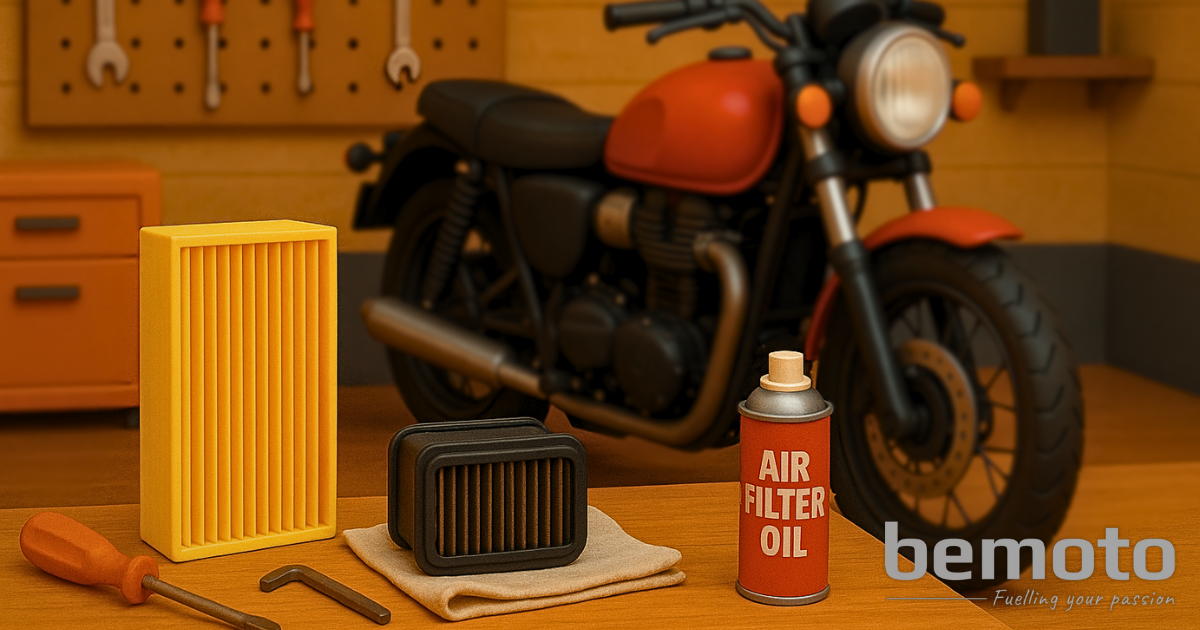
- A new air filter (check your owner’s manual for the correct type: foam, paper, cotton, or reusable)
- Screwdrivers (usually Philips or flathead, depending on your bike)
- Allen keys or socket set (depending on filter housing)
- Clean rags or paper towel
- Optional: Air filter oil (for foam or reusable filters)
- Optional: Vacuum or compressed air (for a quick clean of the airbox)
Spanners’ Tip: If you need any support with finding the right filter or tools, the guys over at Sportsbikeshop will probably have what you need. Make sure to check them out before getting your hands dirty.
Step 2 - Locate the air filter
It’s important to remember that every bike’s a bit different, but your air filter is usually tucked inside the airbox. When you change your motorbike air filter, check your manual for its location. If you don’t have it to hand, you can usually find it:
- Under the seat
- Beneath the fuel tank
- Behind a side panel
What to do:
We always recommend consulting your bike’s manual but if you don’t have it, or prefer a helping hand, you can usually find your bike’s air filter location by searching online. Some bikes require just a few screws to get there, others need a bit of disassembly.
Step 3 - Remove the old air filter
Out with the old and in with the new. It’s as simple as pulling it out of the airbox in most cases. Some bikes have air filters that just need to be cleaned or re-oiled rather than replaced – check your manual before you chuck it away!
You'll need to:
- Remove any panels or covers in the way.
- Open the airbox carefully, watch for any rubber gaskets or clips.
- Pull out the old filter and inspect it. If it looks like it’s been used to catch campfire ash or insects the size of birds, you’re doing this just in time.
Spanners’ Tip: Snap a pic of how it all fits before removing anything. Future-you will thank you during reassembly.
Step 4 - Clean the airbox (optional, but highly recommended)
Don’t install a fresh filter into a dirty airbox. It’s like putting clean sheets on a muddy mattress.
You'll need to:
- Wipe down the inside with a clean cloth.
- Use a vacuum or blast of air to remove any dust or debris.
- Double-check no critters or leaves have moved in.
Step 5 - Install the new air filter
This is the part where your engine starts to smile. Your bike may have a housing bracket or a mechanism that holds the filter in place, so make sure you give those bits a check over before reinstalling.
You'll need to:
- Insert the new air filter in the correct orientation.
- Make sure it sits snugly, no gaps or misalignments.
- For foam filters, lightly oil it first with air filter oil unless it’s pre-oiled.
- Reassemble the airbox, making sure all clips, gaskets, and screws are secure.
Spanners’ Tip: Don’t overtighten anything. Airbox screws are usually lightweight and easy to strip.
Step 6 - Test it & tidy up
You’re nearly done! The satisfying part is hearing that engine run as sweet as a nut, breathing all that lovely clean air.
You'll need to:
- Fire up the bike.
- Listen for anything odd (like air leaks or rattling).
- If everything sounds normal, take a quick ride and see how it feels. The throttle response should feel a bit crisper if your old filter was really clogged.
Step 7 - Dispose of the old air filter responsibly
Paper filters usually go in the bin. Foam and cotton filters may be recyclable or reusable (check with your local waste centre).
Spanners’ Tip: Note the mileage and date of your air filter change. Most should be swapped every 5,000 – 15,000 miles depending on riding conditions.
Change a motorbike air filter? Easy-peasy!
You’ve just knocked off another bit of motorbike maintenance magic. Clean air = happy engine. Whether you’re commuting, cruising, or carving corners on the weekend, your bike will thank you with better performance and efficiency.
So go ahead, breathe in the scent of success and maybe a bit of that filter oil if you forgot gloves.
Enjoyed this post?
Dive into more insights, stories, and tips across The Pit Stop, there’s plenty more waiting for you!
Don’t forget to subscribe to the mailing list for fresh content, insider perks, and updates delivered straight to your inbox! See the sign up form below.


