Why you should learn how to clean your motorbike
Knowing how to clean your motorbike the right way isn’t just about saving embarrassment at the meets. It’s a key part of motorcycle maintenance that helps your machine last longer and ride better.
A good bike wash removes grime, salt, and road crud that can cause rust and wear. It also helps you spot loose bolts, fluid leaks, or damaged components before they become a problem.
Learning how to clean your motorbike properly, and ensuring you do it regularly, means fewer surprises and a more enjoyable ride. So if you want a safer, smoother and longer-lasting bike, proper motorbike cleaning should be part of your regular routine.
What you’ll need to clean your motorbike
Nobody likes breaking out the sponge and soap, realising they forgot their chamois, and then having to start again because the swirl marks dried on. To clean your motorbike effectively, get the right gear together first:
- Two buckets (one for clean, soapy water and the other for rinsing)
- Motorbike-specific cleaner (don’t use washing up liquid as it’s a harsh cleaner – bike no likey)
- Degreaser for oily parts like the chain and swingarm
- Soft sponge or microfibre mitt
- Brushes for wheels and tight spots
- Microfibre cloths or chamois for drying
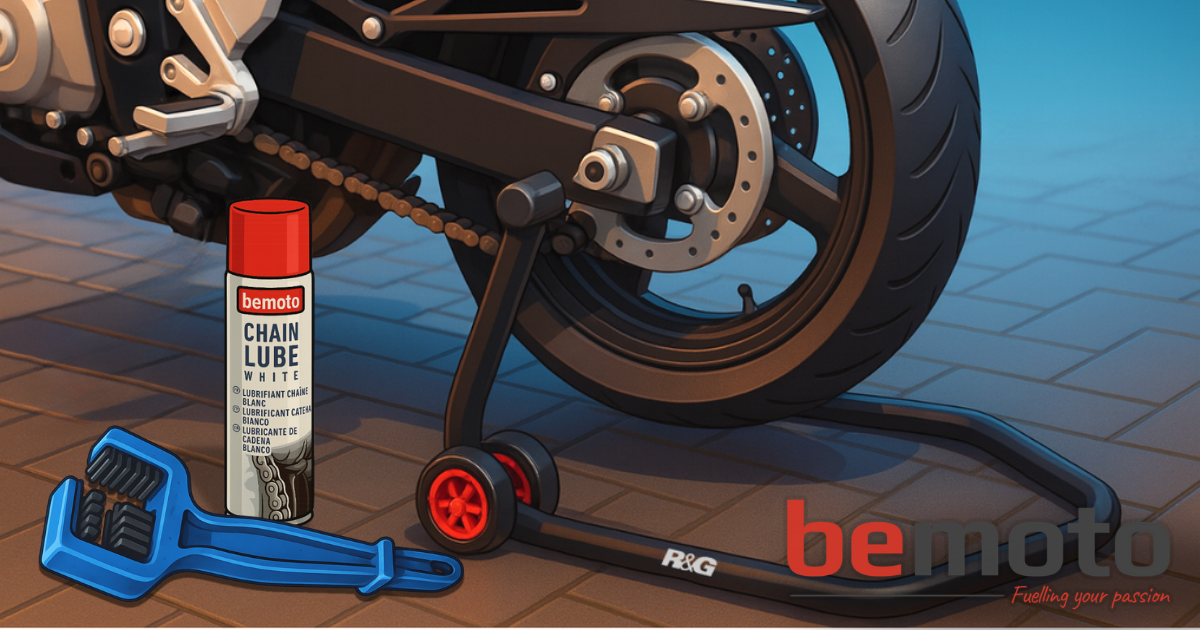
- Chain lube (after washing)
- A lubricant, like WD-40, to drive out moisture
- Access to a hosepipe if you have one
If you need some help finding the right cleaning and maintenance gear, the R&G Gleam range is tried, tested, and we love it! You can get a sweet 10% off by using our discount code.
There’s a pretty big debate about whether or not it’s safe to use a pressure washer on bikes. Some say it’s no bother and others say it’s a one way ticket to damaged bearings and seals. For the avoidance of doubt, our guide teaches how to clean your motorbike the good old fashioned way; buckets and a hosepipe!
Step 1 - Choose the right spot for your bike wash
Before you clean your motorbike, park it somewhere shaded and on stable ground. Avoid direct sun, gravel, or your neighbour’s flower beds.
A paddock stand or centre stand helps with stability and makes the job easier, especially for getting to the chain and rear wheel. We’ve washed plenty of bikes right off the side stand, but propping it upright and having some movement is a huge winner.
If you don’t have a paddock stand, but fancy nabbing one, check out R&G‘s fantastic range for all types of bikes and swingarms.
Step 2 - Rinse your bike
Start your motorbike clean with a good rinse using a low-pressure hose, like the one you use to water your geraniums. The objective here is to get the bike wet, which will help your cleaner to soak and work its magic. Don’t go sticking a jet of water in delicate areas like seals and electrics.
Using your hose, remove as much loose dirt and grit as possible without being too aggressive. Pay close attention to the wheels, under the mudguard, and around the engine as these are targets for road grime and build-up.
Step 3 - Apply a motorbike cleaner
Spray your bike cleaner across the motorbike pretty generously and let it sit for a few minutes. You can use snow foam to coat your bike as well, if you have the equipment to do it. Either option allows it to soak in and lift the dirt without needing to scrub too hard.
If it’s particularly warm outside, save the wait and get to work with the next steps to avoid it drying on paintwork and plastics. You can lightly mist your bike with water to keep it wet if needed.
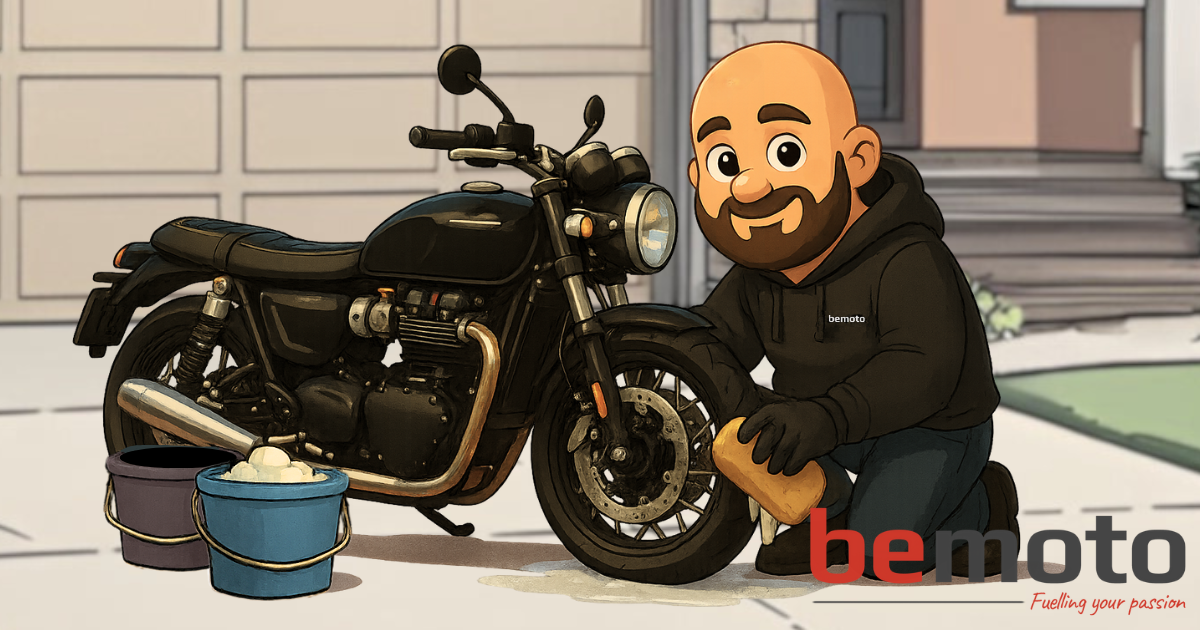
Step 4 - Wash the bike from top to bottom
To protect your paintwork from old grit and debris scratches, implement the two-bucket method. Dip your sponge in the clean soapy water, wash a section of your bike, then rinse the sponge in the second bucket before repeating the process.
Start from the top and work your way down. Save the dirtiest parts (like the wheels and chain area) for last. Safe to say, you won’t want to wash any dishes with that sponge after you’re finished.
Spanners’ Tip: In some cases, a particularly juicy bug splatter or tar may need a bit more help to lift. You can use a specific bug and tar remover, which is recommended over scraping it off.
Step 5 - Degreasing stubborn areas
It’s a good idea at this point to give your drive chain a bit of TLC. Focus areas are your chain, sprockets, swingarm and wheels. Apply your degreaser or chain cleaner and attack it with a good quality nylon brush. Scrub it good and try and avoid braking surfaces where possible.
When focusing on the chain, it’s wise to use a specific motorbike chain brush to lift the muck all the way around. A brush like this is designed with jaws to clean the inside and outside of the chain simultaneously. Spin the rear wheel, or roll the bike forwards incrementally, to circulate the chain and ensure you’re cleaning all of it.
Step 6 - Rinse thoroughly
Once you’ve finished washing, give your motorbike a full rinse with clean water. Make sure you remove all traces of cleaner and degreaser from painted, metal, and plastic parts. This is to prevent any residue being leftover which might streak, or worse, damage paintwork.
Spanners’ Tip: Spray exposed parts, bolts and electrics with WD-40 or an alternative dispersant spray to remove any leftover moisture and protect against corrosion. Just make sure it’s safe to use on your bike.
Step 7 - The final touches
Now that your bike’s clean, it’s time to apply the finishing touches to make sure it’s ride-ready. Make sure to re-lube your chain correctly post-wash. If you want to see a step-by-step guide on how to do this, check out our guide on how to clean and lubricate your motorbike chain.
If you’re keen, apply a polish or spray-on protectant to your metals and plastics for added shine and protection. We recommend a good anti-corrosion barrier to keep the nasties from chewing away at your metals. Scottoiler have developed their FS-365 Complete Bike Protector spray for exactly this purpose – it’s our go-to choice.
Check for anything unusual like missing fasteners, frayed cables or fresh leaks. A proper motorbike clean can reveal a lot if you’re paying attention.
Look at that, you could eat your dinner off it!
Your bike is squeaky clean and you can relax in the knowledge you’ve done your best to restore and maintain your bike to it’s optimal state.
Knowing how to clean your motorbike is one of those simple skills that pays off in a big way. It’s not just about pride in your ride. Regular motorcycle cleaning helps prevent damage, extend the life of your components and keeps your bike running and looking its best.
Put in a bit of effort now and your future self (and your wallet) will thank you. Do it right, and you won’t just have a cleaner bike. You’ll have a better one.
Enjoyed this post?
Dive into more insights, stories, and tips across The Pit Stop, there’s plenty more waiting for you!
Don’t forget to subscribe to the mailing list for fresh content, insider perks, and updates delivered straight to your inbox! See the sign up form below.