Why you should learn how to change your motorbike engine oil
Learning how to change your motorbike engine oil is one of those jobs that sounds complicated… until you do it once and wonder why you ever paid someone else to get covered in goo.
It’s a simple bit of maintenance that keeps your engine running sweet, helps spot problems early, and might just earn you a smug sense of mechanical satisfaction. So if your bike’s oil is looking more like Guinness than golden syrup, here’s your no-nonsense (and slightly cheeky) guide to getting it done right.
What you'll need before you change your motorbike engine oil
Before you change your motorbike engine oil, you should know that not all engine oils are created equal – and your motorbike isn’t just any old machine. To keep it running at its best, you’ll need the right grade, type, and spec of oil recommended by your manufacturer.
The best place to find what engine oil you need is your owner’s manual. If you don’t have it, there are some handy online tools to help you find what you need such as the Motul Oil Advisor tool.
Once you’ve got your oil, there’s some other bits you’ll need. There’s nothing worse than draining your oil only to realise you’ve got no new filter… or that your drain pan is actually your wife’s lasagne dish.
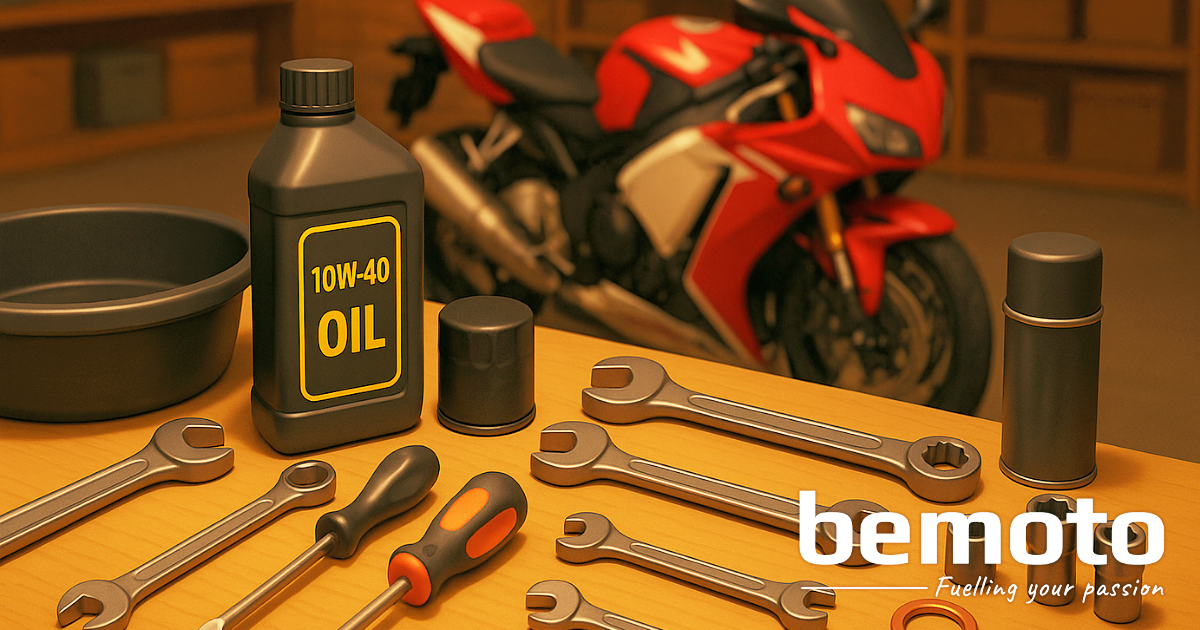
What to grab:
- Motorbike engine oil (get a bit more than the bike’s capacity to be safe)
- New oil filter
- Drain pan or tray
- Funnel
- Gloves (unless you like black fingernails for a week)
- Eye protection
- Socket or spanner for drain bolt
- Filter removal tool (or a heroic grip and a prayer)
- Rag or paper towel
- Optional: a new crush washer for the drain bolt
Spanners’ Tip: Add a spare bit of cardboard or an old towel to this list to lay under the bike before you get going. It’s not essential, but your garage floor will thank you later. Trust me!
Step 1 - Warm it up (but don't roast it)
Warm oil flows better and takes all the gunk with it. But scalding hot oil? That’s just an A&E visit waiting to happen.
What to do:
Start your bike and let it idle for 2–3 minutes, just enough to warm things up, not fry your fingers (perfect opportunity to make a cuppa!). Then turn it off and let it cool slightly while you get into position.
Step 2 - Drain the old stuff
This is where the magic happens, or the mess. Take it slow and be ready. Old oil stinks, stains and can damage precious paintwork on your bike. Make sure you’ve prepped your area appropriately before you jump into this bit.
What to do:
- Locate the drain bolt (usually at the bottom of the sump).
- Position the pan directly underneath.
- Loosen the bolt slowly and get your hand out the way quickly!
- Let it drain fully, no rush. You can enjoy that brew you made in step 2 if you like!
Spanners’ Tip: Tilt the bike slightly upright (on a paddock stand if you have one) to help every last drop escape. If your bike is leaning over on its side stand then some old oil might still be lingering in the bottom of the sump.
Step 3 - Swap the oil filter
Think of your oil filter like a tea strainer, but for metal bits and sludge. No point putting fresh oil through an old, grimy one.
Sometimes these can be sealed pretty tight from heat expansion (or an over-eager previous owner), just take your time and don’t lose your patience – removing a damaged filter is much more of a faff.
What to do:
- Use a filter wrench or wrap a cloth around it for grip.
- Unscrew and let the excess oil drain.
- Wipe around the mounting surface.
- Lightly oil the rubber seal on your new filter (this helps create a good seal).
- Screw the new one on by hand firmly, but don’t overtighten. It’s not a gym competition.
Step 4 - Refit the drain bolt
As the name suggests, the drain bolt literally keeps your new oil in the bike and prevents it draining out. Pouring oil into an engine and forgetting this step in the procedure will be pretty embarrassing (and will mean a lot of clean up).
What to do:
Check/replace the washer – Some, but not all, oil filters come with a new crush washer in the box. It’s best practice to replace the crush washer that creates the seal between the oil filter and the sump. You might get away with it if you don’t, but these are inexpensive to buy and should prevent any leaks from occurring.
Reinstall the drain bolt – You’ll need to thread it in until hand tight then snug it down. Make sure not to use brute force and over tighten this bolt as it can lead to stripped threads or, if you’re really heavy handed, a cracked sump. We suggest using a torque wrench to tighten it to spec, but if you haven’t got one then aim for “firm and confident”, not “Hulk smash”.
Step 5 - Pour in the good stuff
This is the part where your bike starts to feel the love. To help you get the oil level spot on, it’s best to consult your owner’s manual again or the Motul online tool to get your bike’s oil capacity.
What to do:
- Remove the filler cap.
- Use a funnel to pour in the correct amount of oil.
- Don’t rush, spills are annoying and slippery.
- Replace the cap when done.
Spanners’ Tip: Check the oil sight glass or dipstick after a minute or two of sitting. If it’s too low, top it up as needed. If it’s too high, crack the drain bolt and let some oil drain out, check the level and repeat as needed.
Step 6 - Start it, settle it, check it
Circulating the oil by running the engine will help all the little bits and pieces inside the engine lubricate and cycle through the filter. This step also helps you check for leaks, settles the level in the sump, and confirms all is well.
What to do:
- Fire up the bike and let it idle for a couple of minutes. Don’t rev it like you’re at Silverstone. Gentle idle is all it needs right now.
- Look under the bike. Any drips? Shut it down and check the drain bolt & filter.
- After a few minutes, check the oil level again and top up if needed.
Step 7 - Clean up & disposal
Now that you’ve learned how to change your motorbike engine oil, don’t be that rider who dumps it down a drain. Dispose of the old oil and filter responsibly and in an environmentally friendly way; at your local recycling centre. Most UK councils have free drop-offs for waste oil. If you don’t have any of these services nearby, some garages will be happy to take it off your hands, just make sure you contact them and check it’s okay first.
Spanners’ Tip: Log the engine oil change date/mileage, your future self will love you for it. Some even mark the oil filter with a chalk pen, or similar, so they know when it’s time for the next oil change.
Need help with parts?
Our good friends over at Sportsbikeshop stock thousands of filters, oils, tools and more to help you get the job done. Check out their website if you need to grab anything off the shopping list. Their team are friendly, professional and on-hand to assist with finding the right parts for your bike.
Look at you, you grease-stained legend!
That’s it! You’ve just performed one of the most important bits of bike maintenance. Changing your motorbike engine oil isn’t just about smoother rides, it helps your engine live longer, perform better, and gives you a chance to spot issues before they become wallet-draining disasters.
Now go wash your hands, put the kettle on, and bask in the joy of a job well done.
Enjoyed this post?
Dive into more insights, stories, and tips across The Pit Stop, there’s plenty more waiting for you!
Don’t forget to subscribe to the mailing list for fresh content, insider perks, and updates delivered straight to your inbox! See the sign up form below.