Why you should have a motorbike pre-ride checklist
Let’s face it: British weather isn’t exactly motorbike-friendly all year round. Whether you’ve been off the road for a few months or your bike’s been tucked away in the garage since last summer, now’s the time to dust it off and get rolling again. But before you channel your inner Rossi and tear off down the lanes, a proper motorbike pre-ride checklist is essential.
This isn’t just about ticking boxes, it’s about making sure your pride and joy (and your own skin) is safe, sound, and ready for the road. Here’s a slightly cheeky but solid guide to inspecting your motorbike after a long break.
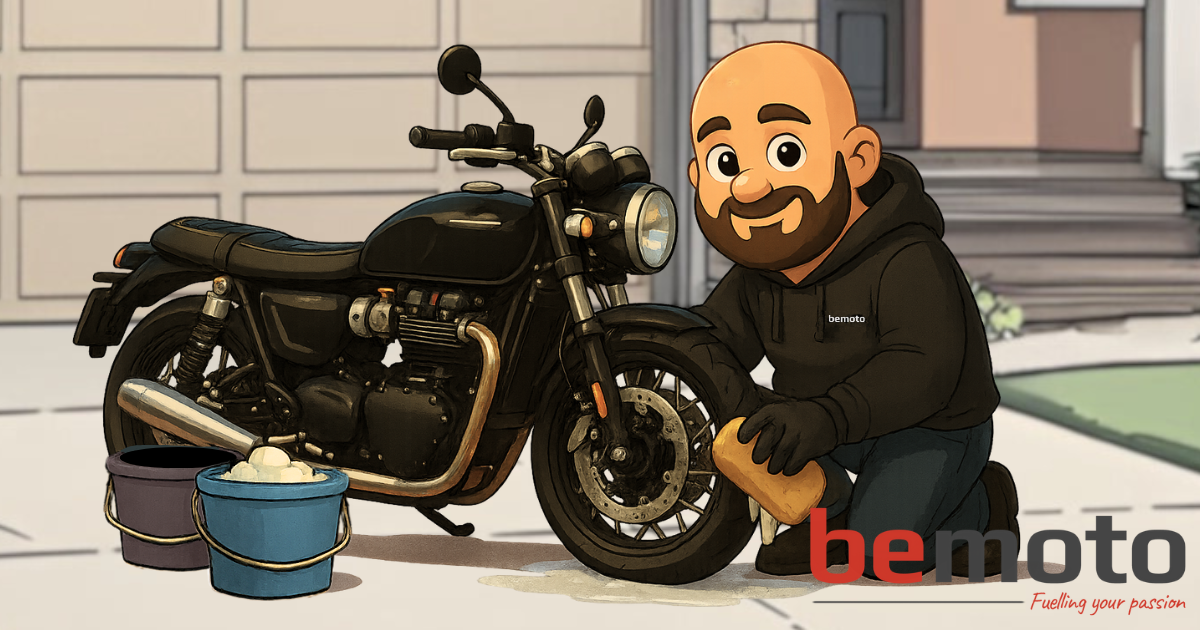
Step 1 - A clean and a once-over
First stop on the motorbike pre-ride checklist is a proper wash (yes, even if it’s “just dust”). Cleaning helps you spot any suspicious leaks, cracked bits, or that rogue spider colony that’s moved in over winter. Do this before riding anywhere.
Make sure to check out our complete step-by-step guide on how to clean your motorbike properly so that your ride is glistening after a long hiatus in the garage.
What to look for:
- Rust, cracks or mystery marks on the frame.
- Fairings flapping like they’ve seen a ghost? Tighten them up.
- Wiring that looks chewed? Could be a mouse with expensive taste.
- Any oil or fluid leaks under the bike; never a good sign.
Why it matters:
This is your first real chance to reconnect with your machine and spot anything that shouldn’t be there. Like that extra bolt sitting on the floor…
Step 2 - Tyre condition and pressure
Why it matters:
When you ride, your tyres are your only point of contact and should be your first inspection point on your pre-ride checklist. Old tyres are like old bananas; rubbery, slippery, and not to be trusted. They lose pressure, crack, or worse, develop flat spots if left sitting too long.
What to look for:
- Tyre pressures: check your owner’s manual or under the seat for the right PSI.
- Tread depth: UK legal limit is 1mm, but more is merrier.
- Damages: Any signs of cracking, bulges or weird wear patterns.
If they look dodgy or older than your riding boots, it’s time to bite the bullet and get a new set.
Step 3 - Battery maintenance
Why it matters:
It’s the silent killer of start-up joy: you twist the key… nothing. That flat, defeated click? Classic dead battery. If it hasn’t been on a trickle charger, there’s a good chance it’s more toast than tech.
What to look for:
- Does it have charge? If not, try charging it before binning it.
- Are the terminals corroded? Give them a clean-up.
- Still flat after charging? Time for a new one.
Spanners’ Tip: Modern batteries hate sitting idle. Treat them like houseplants – a bit of regular attention goes a long way. Invest in a battery trickle charger to keep it in tip-top condition, all year round.
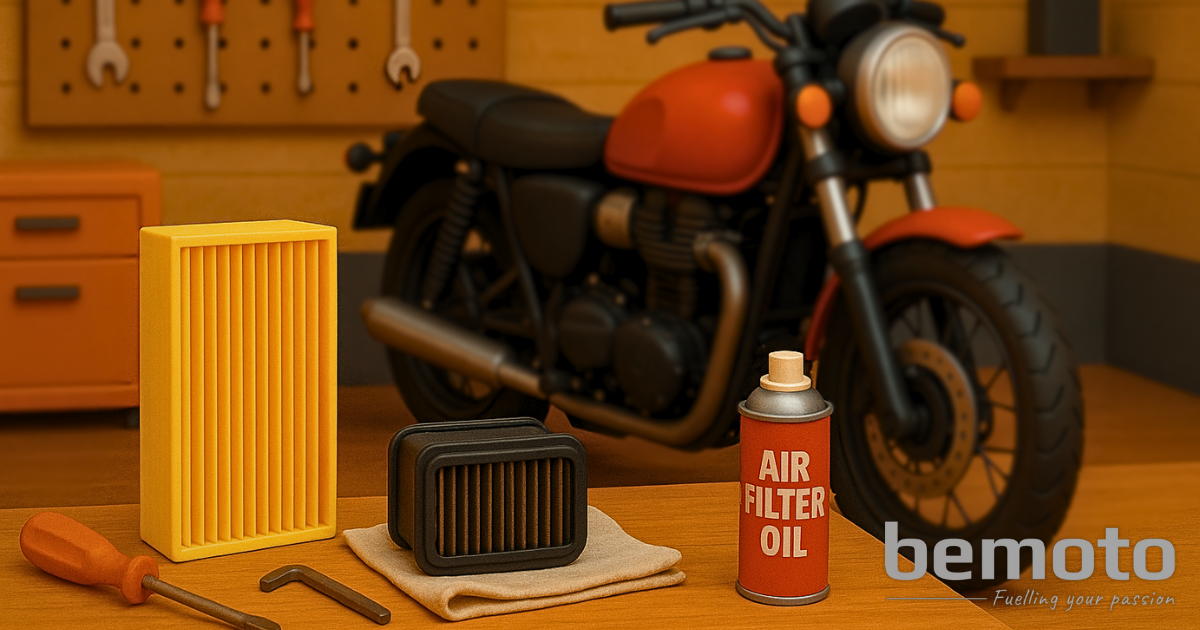
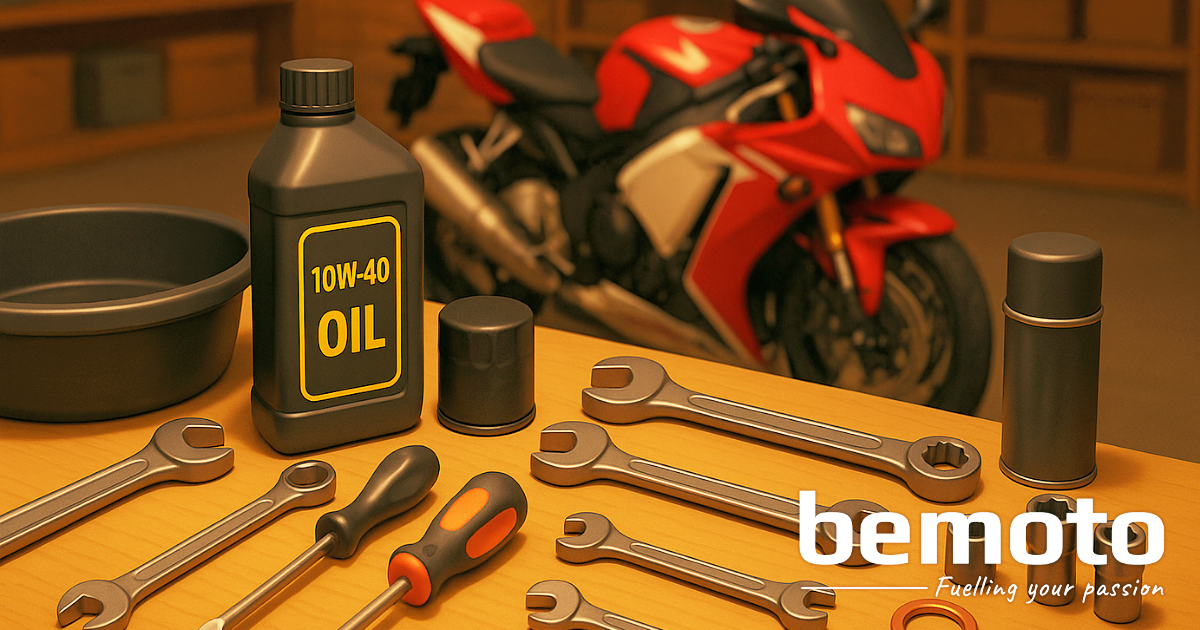
Step 4 - Check your fluids & filters
Why it matters:
It’s your bike’s bodily functions. Oil, fuel and coolant don’t age like fine wine. More like milk, really. Gunky oil, murky brake fluid or stale fuel can cause havoc.
What to look for:
- Engine oil: If it looks like gravy or smells burnt, see our guide on changing it.
- Coolant: Check level and colour. Topped up? Great. Cloudy? Not great.
- Brake fluid: Should be clear, not murky.
- Fuel: If it smells like varnish, drain it.
- Air filter: If it looks knackered or filthy, see our guide on how to change it.
Treat your fluids well, and your engine will return the favour.
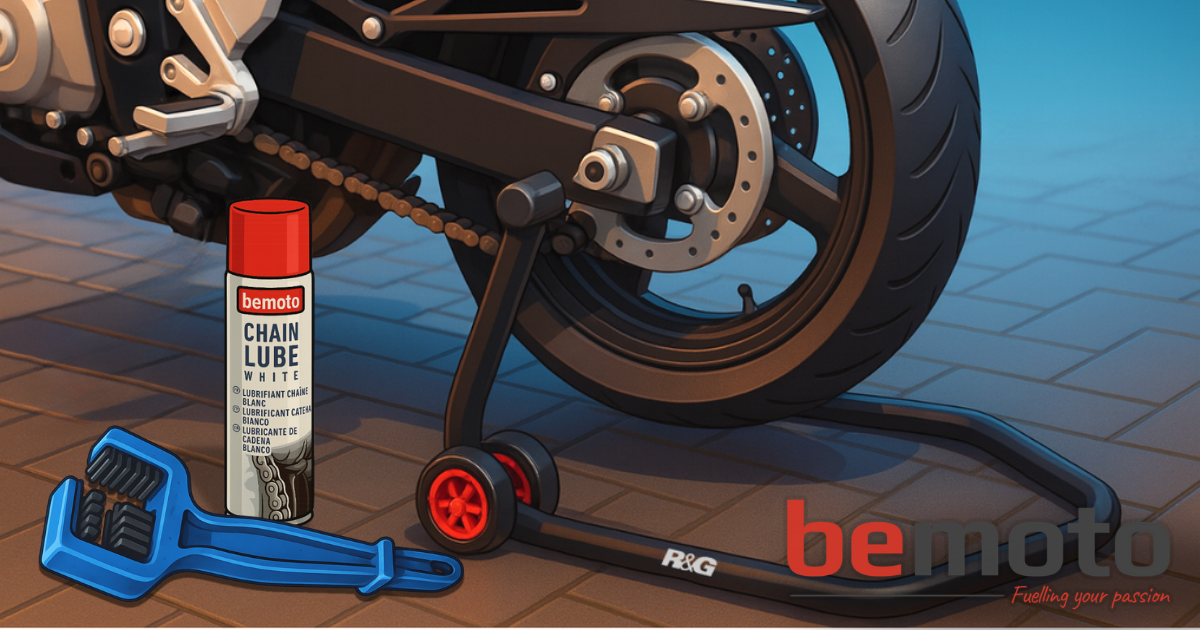
Step 5 - Asses the chain & drive components
Why it matters:
Neglected chains get dry, rusty, or loose. All things that lead to jerky rides or, worse, chain failure mid-corner. A good chain gives you that satisfying mechanical whirr…
What to look for:
- Is the chain tension within spec? Not sagging like a hammock?
- Are the links moving freely and lubricated?
- Do the sprockets have teeth, or are they pointy like a saw blade?
- Give it a clean and a good lube, think of it as conditioner for your drive system.
Spanners’ Tip: Use a good quality chain lubricant, like the R&G Gleam Everyday Chain Lube, to give you that smooth and responsive feel, and protect it from grime and wear. There’s tonnes of different lubricants out there – but don’t be tempted by the cheeky advertising, some of them just aren’t any good for keeping a motorbike moving… Trust me…
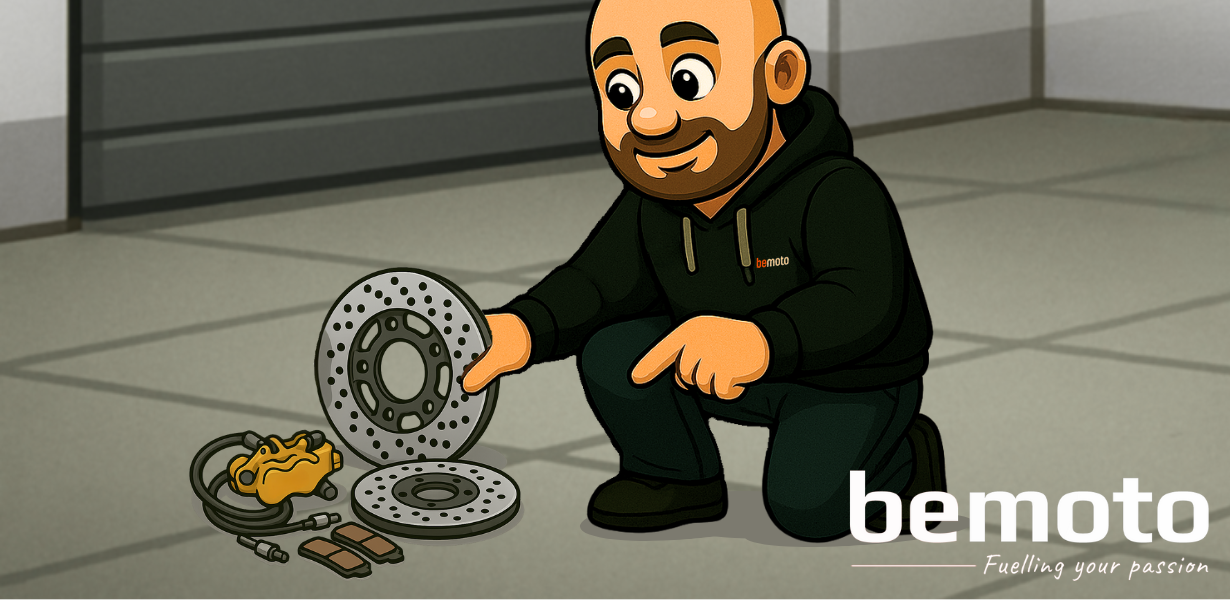
Step 6 - Testing your brakes & controls
Why it matters:
If your brakes don’t bite like they used to, or your clutch lever feels like squeezing soggy toast, you’ll know about it pretty quickly.
What to look for:
- Brake levers should be firm, not spongy.
- Brake pads should have meat on them. Thin is not in.
- Brake discs should be smooth, not warped.
- Cables – throttle and clutch cables should move freely.
Your bike should feel responsive, not like it’s sulking after months of neglect.
Step 7 - Checking your lights, indicators & horn
Why it matters:
Always follow this rule: be seen, be heard. You need to be visible, especially on UK roads with “character” (aka potholes and dodgy lighting). Plus, it’s the law. Don’t get caught out over a, generally, quick and cheap fix.
What to look for:
- Headlights: flick between low and high beams. Use your garage wall (or any) and watch it light up.
- Brake lights: depress your front and rear levers individually and check it comes on. If it’s broad daylight, stick your free hand in front of the rear light and look for a reflection.
- Indicators: make sure you check all four, they should be nice and bright.
- Horn: the one everybody forgets… Give it a good honk – even if it sounds like a goose in distress.
If it lights up or makes a noise, it needs to work. These are all legally required, so don’t say we didn’t warn you!
Step 8 - The test ride (best bit)
Why it matters:
Even if everything looks good on paper, your first ride will reveal how the bike feels. Don’t treat this like a track day, it’s a shakedown.
Do it the BeMoto way:
- Stick to local roads.
- Go steady on the throttle and brakes.
- Listen for odd noises.
- Keep an eye on warning lights and temp gauges.
If anything feels “off”, pull over and check it. Better now than when you’re miles out and your bike’s throwing a tantrum.
Keep it safe, keep it fun
A proper pre-ride checklist isn’t just about safety, it’s about confidence. When you know your bike is mechanically sound, you’re free to enjoy the open road (or that mid-week commute that feels like an adventure when the sun’s out).
So, grab a brew, get in the garage, and give your bike the love it deserves. Your first proper ride of the season should feel like a reunion, not a rescue mission.
Enjoyed this post?
Dive into more insights, stories, and tips across The Pit Stop, there’s plenty more waiting for you!
Don’t forget to subscribe to the mailing list for fresh content, insider perks, and updates delivered straight to your inbox! See the sign up form below.